Short answer
To change the background of a photo, cut the subject out, then put it on the new background and make the two agree. First choose what the new background is for: a flat colour is safe, a photographed scene is a bigger job. Then match the direction of the light, and fix the three things that give a replacement away: a rim of the old background along the edge, no shadow where the subject meets the new surface, and a mismatch in sharpness and grain. getPNG does the cutout and can put it on any flat colour at full resolution; putting it on another photograph is done in an editor with layers.
Changing the background of a photo is two jobs that look like one. The first is removing the old background, which is now a matter of seconds. The second is putting the subject on something new so that nobody can tell, which is where most replacements go wrong. This page is about the second job.
A word on what getPNG covers. It cuts the subject out at the full resolution of the photo and can put it on a flat colour, which is the whole job for a profile picture, a headshot or a product listing. It does not lay a cutout over another photograph. For that, download the transparent PNG and place it in an editor with layers; how to overlay images covers the placing, and this page covers the choosing and the checking.
Decide what the background is for
Pick this first, because it decides how much work is ahead of you.
- A flat colour. The safest replacement there is. There is no scene to match, so no light to disagree with, and the only things to get right are the colour and the edge. It suits profile pictures, headshots, listings and thumbnails. Which background for which use sets out the choices by destination.
- A photographed scene. A beach, an office, a street. This is where a replacement is most likely to look fake, because every part of the subject now has to agree with a picture it was not taken in.
- A blurred copy of the original. If what bothers you is clutter rather than the place, a softer version of the same background often looks better than a new one. That is an editor job, and it keeps the light correct automatically because it is the light that was really there.
If you cannot say what the new background is for, use a flat colour. A believable plain background beats a convincing-looking scene that falls apart at full size.
Cut the subject out properly
Everything after this depends on the cutout. Two things matter.
Keep the soft edge. A strand of hair or a patch of fur is partly see-through, and that partial transparency is what lets it blend with a new background. A cutout whose edge is on or off for every pixel looks like paper held against the scene. getPNG keeps that softness rather than thresholding it. What a transparent background actually is explains the idea behind it.
Work at full size. The cutout comes back at the resolution of the photo you gave it, so you start with every pixel the camera recorded. Shrinking it to fit a scene is safe; enlarging a small cutout makes the edge go soft first.
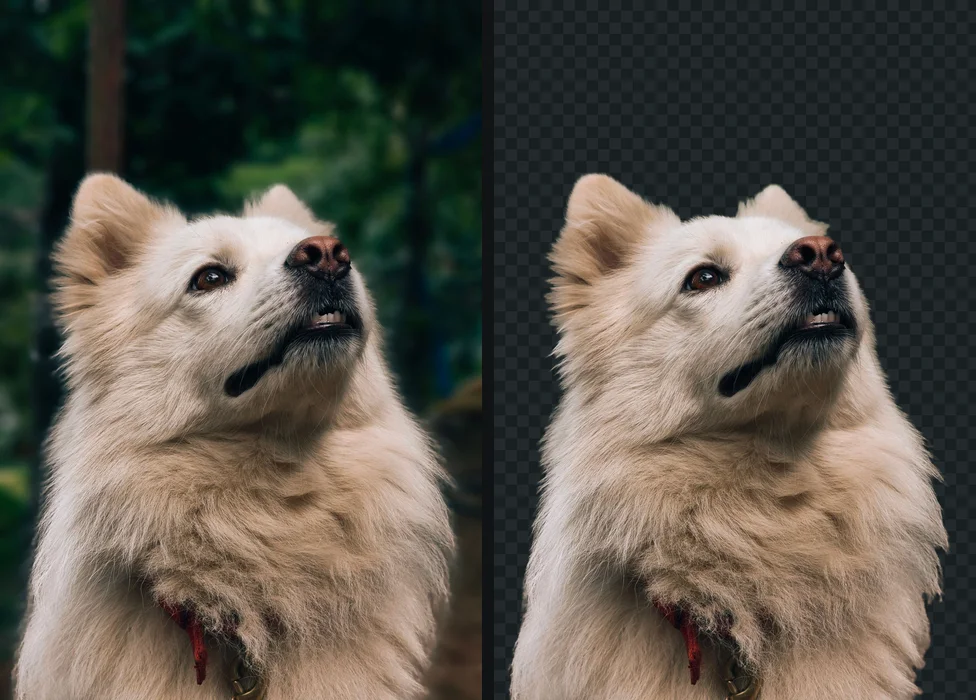
If you are not sure the file you have is a real cutout rather than a painted checkerboard, a fake transparent PNG shows how to tell in seconds.
Choose the colour
For a flat background, the colour does more work than people expect, because at the sizes most pictures are shown, the colour and the outline are all that survive.
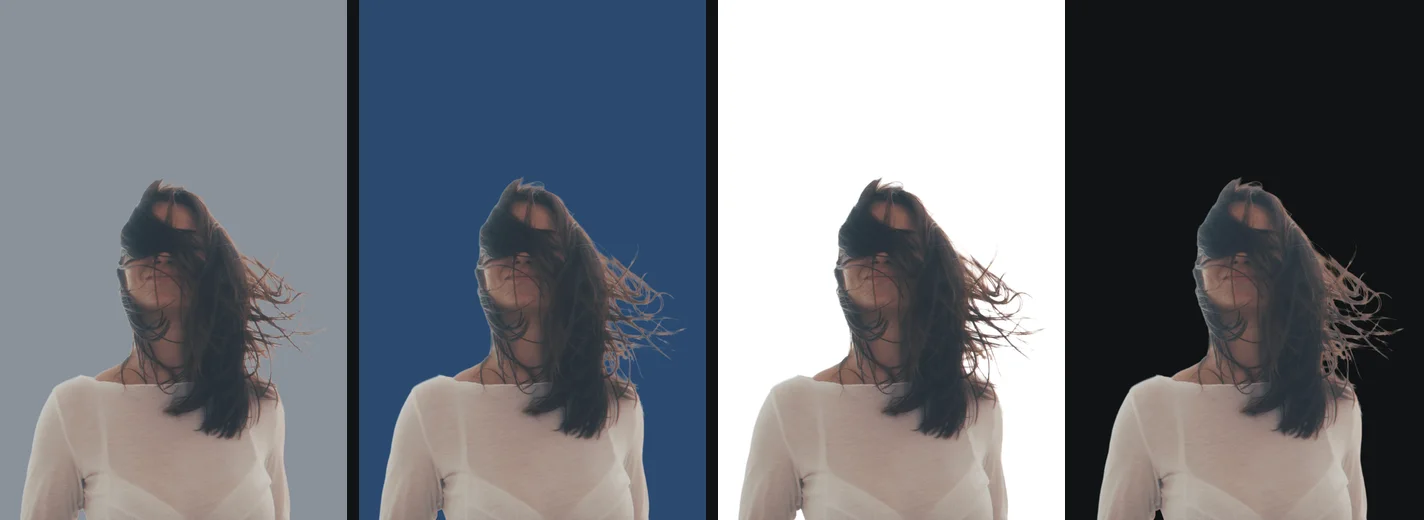
- Contrast with the subject, not just with the page. Dark hair on a pale or saturated colour, blond hair on navy, green or violet. A subject that is close to the background in tone melts into it at small sizes.
- Mid grey and muted blue are forgiving for faces. They sit behind most skin tones without competing. The professional headshot background guide goes through why.
- Black hides dark hair. The edge of dark hair on black has nothing to define it, which is a loss if the hair is what makes the picture.
- Pure white is a decision, not a default. It is what a shop listing usually wants, and it shows up every pale rim. White background photo separates where white is a rule from where it is a habit.
- Look at it small. Shrink the preview to the size it will be seen at before you commit. A colour that looks calm at full size can look harsh at 48 pixels.
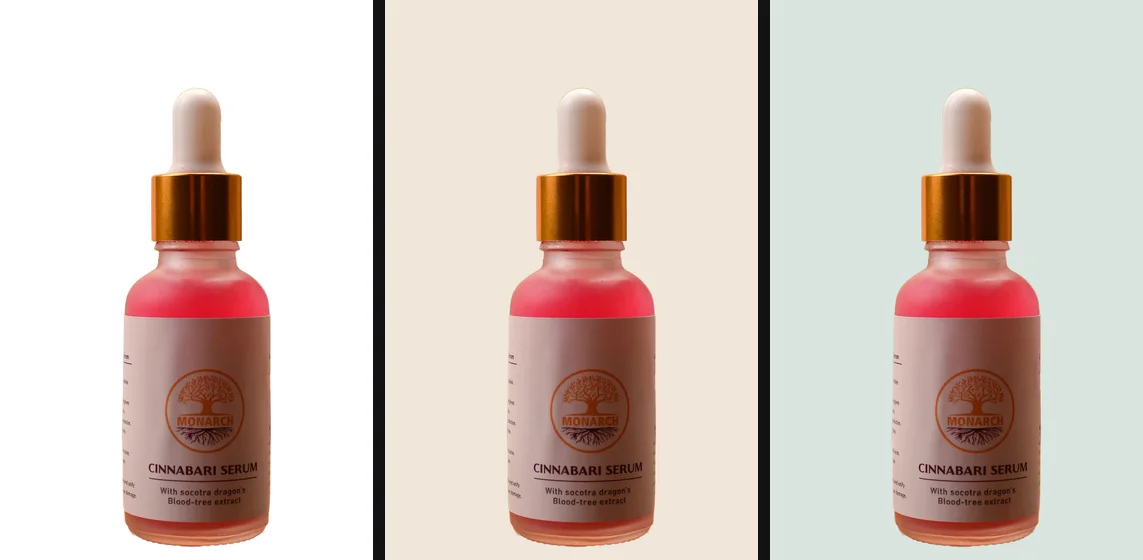
Switching colour in getPNG does not run the model again, so trying four of them takes less time than deciding between two.
Match the direction of the light
If the new background is a photograph, this is the check that matters most, and it is the one that cannot be repaired afterwards.
Light has a direction, and every surface in a picture shows it: which side of a face is bright, which side of a building is in shade, where the shadows on the ground point. A subject lit from the left, placed in a scene lit from the right, looks wrong at once, even to someone who cannot say why. Edits can change brightness and warmth. They cannot turn the light around.
So compare the two pictures before you do anything else:
- Where do the shadows fall in the scene? The light comes from the opposite side.
- Which side of the subject is brighter? It should be the side the scene’s light comes from.
- How hard is the light? Crisp, short shadows mean direct sun. Soft, faint ones mean cloud or shade. A subject lit by a window looks out of place in bright sun, and the reverse.
- How high is the light? Low evening light puts long shadows on the ground and warms the skin. Noon light is overhead and neutral.
If the two disagree, choose a different scene or a different photo of the subject. Mirroring the subject is a fix when it contains nothing that gives the flip away, such as text, a parting or a watch, and it is only a fix for left against right.
Test the light before you commit
- Put the transparent cutout on the new background in your editor, at roughly the size it will be.
- Cover the subject with your hand, then look at the scene alone and say which way the light is coming from.
- Uncover the subject and ask whether its bright side faces that light.
You should see: the bright side of the subject faces the same way as the brightest side of the things around it, and the shadows in the scene point away from both.
If you do not: if they disagree, no edit will fix it. Try the mirrored subject if nothing in it gives the flip away, or choose another background.
The three things that give a fake away
Once the colour or scene is chosen and the light agrees, three faults are left, and between them they account for most replacements that look wrong.
1. A rim of the old background
A thin line in the colour of the old background runs along the edge of the subject: pale from a bright window, green from a lawn, dark from a shadowy wall. On the original it was invisible, and on the new background it is the first thing the eye finds.
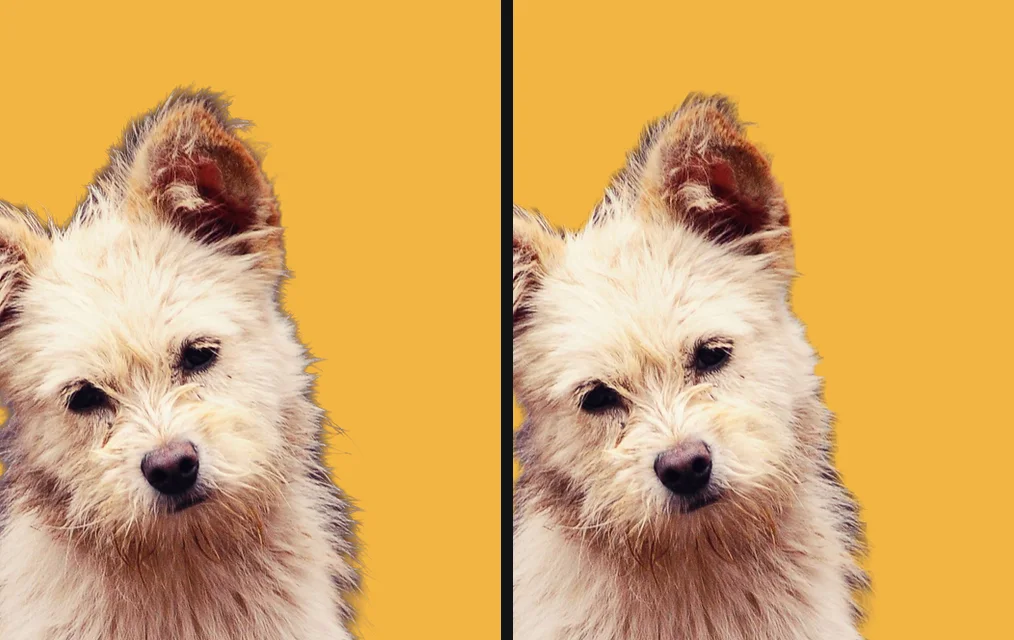
Check for it on the new colour, at full size, along the edge of the hair, the shoulders and anything thin. In getPNG, Edge shift pulls the outline in by a pixel or two, and Clean edge colour takes the old background back out of the soft pixels along the edge, which is the coloured rim a cutout otherwise keeps. Both apply at full resolution and do not run the model again, so you can move a slider and look straight away. White halos and jagged edges after a cutout goes through the cause and the same fix in other apps.
The rim is worst where the old and new backgrounds are most different, so check it twice: once on the colour you chose, and once on the opposite, light or dark, as a stress test.
2. No shadow where the subject meets the surface
A subject that stands on something casts a shadow on it, and a subject with no shadow floats a little in front of the scene, however clean its edge. There are two kinds, and the first is the one that matters:
- A contact shadow. A small, dark, soft patch right where the subject touches the surface: under a shoe, under the base of a bottle, along the bottom of a bust. It is what gives the subject weight.
- A cast shadow. A longer, softer shadow thrown away from the light onto the floor or the wall.
A head and shoulders portrait on a flat backdrop needs neither, because it is not standing on anything. A full-length figure, an object on a table or a pet on a lawn needs at least the first. getPNG’s drop shadow is built from the cutout’s own outline, with strength, softness, distance and direction yours to set, and it is saved into the file. Aim it away from the light you found in the previous step. Softness and distance are shares of the subject, so the same settings look the same on a small picture and a large one. A shadow that has to bend over steps or a curved wall is a job for the editor, because the drop shadow is drawn from the outline and not from the surface.
3. A mismatch in sharpness and grain
The subject and the scene were captured by different cameras, in different light, with different focus, and the picture shows it where the eye is least expecting it: in the fine texture.
- Sharpness. A crisp subject on a soft, out-of-focus background looks pasted, as does a soft subject on a crisp one. Match them. If the scene is blurred, the subject should be a touch softer than the original photo would give you.
- Grain and noise. A phone photo taken indoors has visible grain, and a clean stock picture has none. Put a clean subject on a grainy scene, or the reverse, and the join is easy to see at 100 percent.
- Colour cast. Daylight is cool and a bulb is warm. A small shift in the editor’s temperature control is usually enough to bring them together.
None of these needs a precise number. Put the subject beside something in the scene at the same distance and adjust until the two look as though they were taken together.
What to leave alone
Some changes are better not made.
- A passport or visa photo. Most issuing authorities want the real wall behind the person, not a replaced one, and a replaced background can be a reason for rejection. Passport photo background covers what the official check still wants. getPNG crops and places such photos and does not judge whether one will be accepted.
- A photo that has to be a true record. A document, evidence or a news picture. A believable replacement is exactly what these must not carry.
- Someone else’s picture. Cutting the subject out of a photo you do not have the right to use does not make it yours.
Order of work
Do things in the order that avoids redoing them.
- Decide whether the new background is a flat colour or a scene.
- For a scene, compare the direction of the light first, before you cut anything.
- Cut the subject out and check the edge on the colour it is going onto.
- Set the scale and the position in your editor if there is a scene.
- Match the brightness, warmth, sharpness and grain.
- Add the shadow last, because it depends on where the subject now stands.
- Zoom to 100 percent and look along the edge and under the subject once more.
- Keep the transparent PNG as your master, and export the finished picture separately.
The free way
Change the background, keep every pixel
Drop the photo, then pick a flat colour or keep it transparent, check the edge at full size, add a soft shadow if the subject should look as if it stands on something, and download a PNG, WebP or JPG at the resolution of the original. There is no watermark, and the picture never leaves your device.
The short version
A replaced background looks right when the colour suits where the picture is going, the light agrees in direction, and three faults are gone: the rim, the missing shadow and the mismatch in sharpness and grain. A flat colour is the easy and honest case, and getPNG does all of it. A photographed scene is more work and belongs in an editor, and the light is the one thing you cannot fix after the event.
The steps, in short
- Decide what the new background is for. A flat colour suits a profile picture, a listing or a headshot. A photographed scene needs a matching light and a lot more care. Pick before you cut anything out.
- Cut the subject out. Drop the photo on getPNG, check the edge, and keep the soft, part-transparent pixels along hair and fur rather than hardening them.
- Try the new background and zoom in on the edge. Choose a colour close to the one the subject will sit on and look at the edge at full size. Use Edge shift and Clean edge colour until no rim of the old background shows.
- Match the light. If the new background is a photograph, check that its shadows and highlights fall the same way as on the subject. If they do not, choose another picture rather than editing.
- Add a shadow and download. Switch on the drop shadow if the subject should look as if it stands on something, aim it away from the light, and download the file at the original resolution.
Questions
How do I change the background of a photo for free?
Cut the subject out of the photo, then put it on the new background. In getPNG you drop the photo in, pick Transparent or a flat colour, and download a PNG, WebP or JPG at the full resolution of the original. Nothing is uploaded and there is no watermark. To put the subject on a photographed scene instead of a colour, take the transparent PNG into an editor with layers.
Can getPNG replace a background with another photo?
Not directly. getPNG removes the background and can place the subject on a solid colour, but it does not lay one picture over another. Download the transparent PNG and place it on your chosen scene in an editor such as PowerPoint, Canva, GIMP or Photopea, then use this page to check the edge, the shadow and the light.
Why does my new background look fake?
Almost always one of three things: a thin rim of the old background still clings to the edge, there is no shadow under or beside the subject, or the subject is sharper, softer or grainier than the scene. A fourth cause, light that comes from different directions in the two pictures, cannot be edited away and needs a different photo.
What colour should I choose for the new background?
For a person, a mid grey or a muted blue flatter most faces, white suits a product listing, and a bold saturated colour suits an avatar or a thumbnail. Choose a colour that contrasts with the subject's hair and clothes, and check it on the small size the picture will be shown at.
Does changing the background lower the photo quality?
Not by itself. getPNG returns the picture at the full resolution of the original, and changing the background colour afterwards does not run the model again. Quality is lost only if you save as a JPG at a low setting, or if you enlarge a small picture to fit a bigger scene.
Is the photo uploaded when I change the background?
No. getPNG runs on your own device, so the photo is never sent anywhere. If you place the cutout in another app, that app has its own rules about your files.