Short answer
A free YouTube thumbnail maker workflow uses two tools: a background remover for the cutout of you, and an editor with a 16:9 canvas. YouTube recommends 16:9, at least 640 pixels wide, in JPG or PNG, and the file must be under 2 MB when uploaded from a phone (YouTube Help, checked September 2026). Cut yourself out as a transparent PNG, place it large on a bold colour, add three or four words, export a JPG.
A YouTube thumbnail maker does not have to be one app. The thumbnails that work (a big, expressive cutout of the creator on a bold colour, a few heavy words) are two jobs: cutting yourself out of a photo or video frame cleanly, and laying that cutout onto a 16:9 canvas with text. This guide covers YouTube’s own thumbnail rules as its help page states them in September 2026, how to get a sharp cutout of yourself, how to build the thumbnail in a free editor, and the design choices that keep it readable at the size most people see it: a phone screen.
YouTube thumbnail size and rules
From YouTube Help, Add video thumbnails, checked September 2026:
| Rule | What YouTube says |
|---|---|
| Aspect ratio | 16:9 for videos, 9:16 for Shorts |
| Resolution | 3840 x 2160 pixels suggested for videos, minimum width 640 pixels |
| File types | JPG or PNG, among others |
| File size | 2 MB from the mobile app, 50 MB from a computer |
| Eligibility | Your account must be verified |
A few things worth knowing about those numbers:
1280 x 720 still works. For years YouTube recommended 1280 x 720, and most templates in Canva and elsewhere still use it. It is 16:9 and well above the 640 pixel minimum. The newer 3840 x 2160 suggestion gives a sharper result on large screens, at the cost of bigger files. 1920 x 1080 is a sensible middle.
The 2 MB limit only applies from the phone. If you upload thumbnails from the YouTube app, a 3840 x 2160 PNG will almost certainly be too big. Export a JPG, or upload from YouTube Studio on a computer.
Verification comes first. If the thumbnail option is greyed out or missing, the channel probably is not verified. YouTube’s page links to its verification step.
Thumbnails follow the Community Guidelines. YouTube can remove a custom thumbnail that breaks them, and repeated problems can take away custom thumbnails for a while.
Why a cutout works in a thumbnail
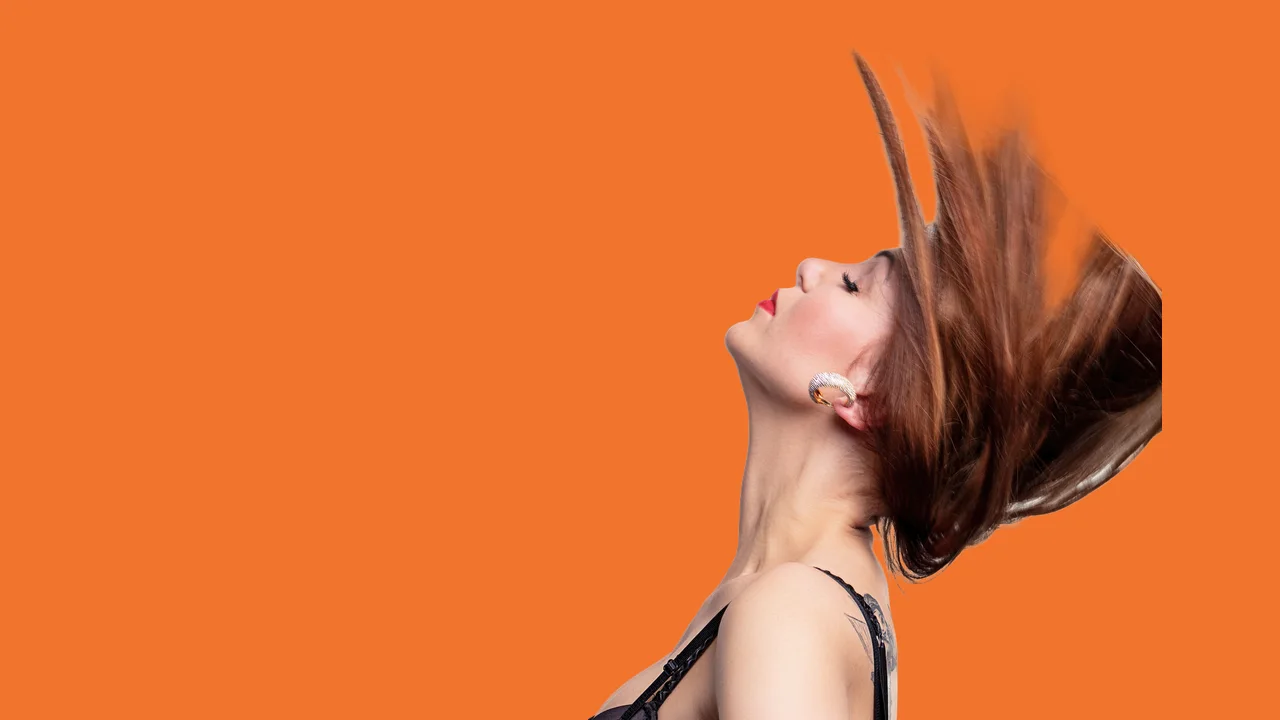
A thumbnail is seen small, next to a dozen others, often for less than a second. Three things get noticed at that size: a face, a strong colour, and very short text. A cutout gives you control over all three.
- The face is bigger. Removing the room behind you means you can scale yourself up without the background taking space.
- The background becomes a colour you choose. A saturated yellow, teal or red behind you contrasts with the white and grey of YouTube’s interface in both light and dark mode.
- Separation. A cutout on a flat colour has a clean edge around the head that reads at thumbnail size. A photo of you in a cluttered room does not.
Step 1: get a frame worth cutting out
The cutout can only be as sharp as the frame it came from.
- Take a photo during the shoot if you can: same outfit, same light, a deliberate expression. A phone photo is higher resolution than any single frame of 1080p video.
- If you use a video frame, pause on a frame without motion blur. Fast head movement smears the hair, and a smeared edge makes a soft cutout.
- Light the face well. Even light and a slight rim of light behind you give a clear outline.
- Leave room. Keep your whole head and some shoulder in frame. Hair cut off by the edge of the frame will look cut off in the thumbnail too.
If the photo is from an iPhone in HEIC format, drop it in as it is: getPNG reads HEIC directly.
Step 2: cut yourself out
- Open getPNG and drop the photo or frame on the page, choose it, or paste a screenshot straight from the clipboard.
- The model finds you, and the edge is refined against the full-size picture, so the cutout keeps the resolution of the original. That matters here, because thumbnails often use a tight close-up: you will scale the face up, and a cutout made from a small mask goes soft when you do.
- Check the edge in the compare view by dragging the divider across your hair. Switch the preview between light and dark backgrounds to spot any rim left from the old background.
- If there is a pale or dark fringe, pull the outline in with Edge shift by a pixel or two. If the edge is too hard, add a little Feather. Both are instant. White halos around a cutout explains why fringes happen.
- Download the transparent PNG.
The free way
Cut yourself out for the thumbnail, at full resolution
Drop the frame on getPNG, check the hair in the compare view, and download a transparent PNG at the full size of the original, ready to place in Canva or Photopea. No account, no watermark.
Your footage is unreleased material, which is a good reason to be careful where frames of it go. getPNG removes the background in the browser and the frame is never sent anywhere. Most online background removers upload the image instead; is it safe to upload photos online summarises what their policies say.
Step 3: build the thumbnail in an editor
getPNG makes the cutout; it has no canvas presets, text or layout tools. Build the thumbnail itself in an editor you like. Two free choices:
In Canva
Canva has a YouTube Thumbnail design type and a large set of templates, sized 1280 x 720. Upload your transparent PNG, drag it onto the design, and it keeps its transparency. Canva’s own Background Remover needs a paid plan, which is why a separate cutout is useful on the free plan; the Canva background removal guide covers the details. Canva is a cloud editor: everything you add to a design, including your cutout, is stored in your Canva account.
In Photopea
Photopea is a free editor in the browser that works like Photoshop. Create a new project at 1920 x 1080 (or 1280 x 720), fill the background layer with a colour, then open the PNG and drag it into the project as a new layer. Photopea’s privacy policy (checked September 2026) says files you open in it never leave your device and are processed on your own hardware.
Any other editor with layers works the same way: GIMP, Affinity, Figma, Photoshop.
Step 4: lay it out so it reads on a phone
Test the thumbnail at real size
- Export the thumbnail and open it on your phone.
- Zoom out until it is about the width of your thumb, roughly the size YouTube shows it in a phone feed.
- Look at it for one second, then look away.
You should see: you can say what the face is expressing and read every word of the text after that one second.
If you do not: if not, make the face bigger, cut the text down to fewer words, or increase the contrast between the text and the background.
Design choices that pass that test:
- Face large. A third to a half of the thumbnail height. Crop through the shoulders or even the top of the head rather than showing a small full figure.
- Keep the bottom right clear. YouTube overlays the video length there. Text or a face under that label gets hidden.
- One bold background colour. Or a very simple, blurred image. Avoid colours close to your skin, hair or clothes.
- Three or four words. In a heavy, simple font, large. The title already sits under the thumbnail; the words on the image are a hook, not a repeat.
- An outline for separation. A white or dark stroke around the cutout separates you from a busy background. getPNG does not add outlines: in Photopea, add a Stroke layer style to the cutout layer (double-click the layer to open its styles); in Canva, look under Effects, Shadows, Outline.
- Consistency. Same colour family, font and layout across a series, so regular viewers recognise your videos in a feed.
Step 5: export and upload
- Export as JPG at high quality. A photo-based thumbnail at 1920 x 1080 is typically well under 2 MB as JPG. Check the file size before uploading from the phone.
- Upload in YouTube Studio. From YouTube’s help page: sign in to YouTube Studio, choose Content in the left menu, select the video, and under Thumbnail choose Upload file, then Save.
- Look at it on the watch page and in search in both light and dark mode.
When the cutout does not look right
- Motion-blurred hair. A frame with movement gives a soft, uncertain edge. Pick a sharper frame, or take a still photo during the shoot.
- Hair against a similar colour. Dark hair against a dark studio wall has no edge to find. The model keeps soft edges rather than guessing hard ones, which looks natural, but it cannot invent contrast. Light the background or the hair differently next time.
- Props and hands. A held object or a microphone may be treated as part of you or partly removed. getPNG has no brush to fix an area by hand yet; fix it in your editor with a layer mask, or choose a frame where the prop is clear of your body.
- A halo on a strong colour. A cutout from a white wall placed on saturated red can show a pale rim. Edge shift in by a pixel usually fixes it; a stroke in the editor hides whatever is left.
- A low-resolution source. A frame from a 720p stream, scaled up for a close-up, looks soft whatever you do. Record or photograph at a higher resolution for thumbnail frames.
For a cutout that ends up on a website or a channel banner rather than a thumbnail, how to make a transparent PNG covers the other routes and formats, and the profile picture background guide covers the small circle next to your channel name.
The steps, in short
- Take or pick an expressive frame. A sharp photo or a paused video frame with a clear expression, your head and shoulders in shot, taken at the highest resolution you have.
- Cut yourself out. Drop the frame on getPNG and download a transparent PNG at the full size of the original.
- Make a 16:9 canvas. In Canva, Photopea or another editor, create 1280 x 720 or 1920 x 1080 pixels and fill it with a bold colour or a simple background.
- Place the cutout large. Put the PNG on the canvas, scale it so your face takes up a third or more of the height, and keep it clear of the bottom right corner.
- Add a few words. Three or four words in a heavy font, high contrast with the background, readable at phone size.
- Export and upload. Export a JPG under 2 MB, then in YouTube Studio open Content, pick the video, and under Thumbnail choose Upload file and Save.
Questions
What size is a YouTube thumbnail?
YouTube's help page recommends a 16:9 aspect ratio with a minimum width of 640 pixels, and currently suggests 3840 x 2160 pixels for videos. The long-standing 1280 x 720 is still 16:9 and works fine. Files must be JPG or PNG, under 2 MB from the mobile app and under 50 MB from a computer (checked September 2026).
How do I cut myself out for a YouTube thumbnail?
Export a sharp frame or photo, drop it on a background remover and download a transparent PNG. Place that PNG on your thumbnail canvas in an editor. A cutout at the full resolution of the frame stays sharp when you scale it up for a close-up.
Why can I not upload a custom thumbnail?
YouTube's help page says your account must be verified to use custom thumbnails. Verify the channel at youtube.com/verify, then try again. If it still fails, check the file is JPG or PNG and under the size limit for the device you are using.
Is there a free YouTube thumbnail maker?
Canva's free plan has YouTube thumbnail templates, though its own Background Remover needs a paid plan. Photopea is free and runs in the browser. Pair either with a free background remover and you have a complete thumbnail maker.
Should a YouTube thumbnail be PNG or JPG?
Either is accepted. JPG is usually the better choice for a thumbnail with a photo in it, because it stays well under the 2 MB mobile limit. Use PNG for the cutout while you are editing, then export the finished thumbnail as JPG.
How do I add an outline around myself in a thumbnail?
Do it in the editor where you build the thumbnail. In Photopea, a Stroke layer style on the cutout layer draws an outline following its transparent edge. In Canva, the Shadows effect includes an Outline option. getPNG does not add outlines.