Short answer
To make a logo transparent, remove everything around it and save it as a PNG. If the logo only exists as a photo, shoot it straight on in even light, straighten any angle in an editor, then cut it out into a transparent logo PNG. That PNG works on slides, documents and social posts. For print, signs or anything that must scale, trace the PNG into a vector with getSVG, which turns a clean cutout into sharp, editable shapes.
Making a logo transparent is easy when you have the original file. It is harder, and much more common than it should be, when the only copy of the logo is a photo: a business card, the sign above the shop, a letterhead from years ago, the print on a club shirt, a sticker on a van. This guide gets from that photo to a transparent logo PNG you can drop on a slide or a website, and then to a clean vector that prints sharp at any size. It covers how to photograph a logo so the result is usable, how to fix the angle, what goes wrong on paper, walls and fabric, and where a cutout stops and a trace or a redraw has to take over.
First, which kind of logo problem do you have?
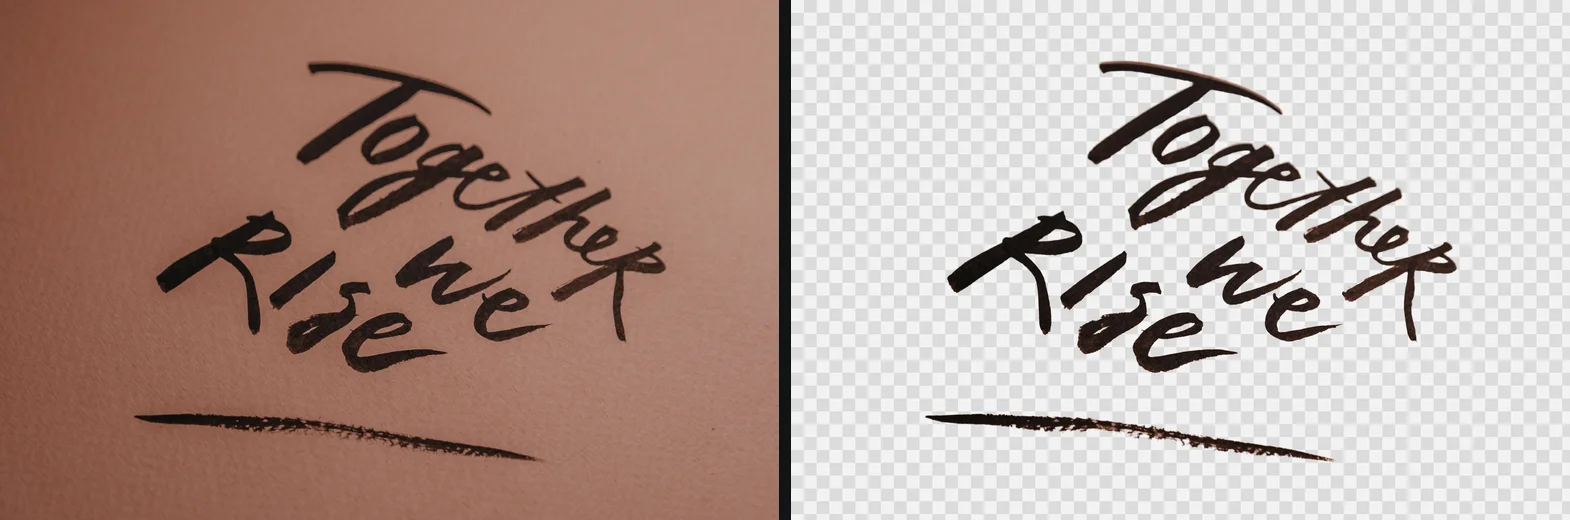
The right route depends on what you are starting from.
| What you have | Best route | Why |
|---|---|---|
| A logo file (JPG) on a plain white background | Trace it with getSVG, transparent background on | Flat colour on flat white is exactly what tracing is built for |
| A photo of a logo on paper or a card | Straighten, cut out, then trace | Paper texture and shadow need removing before a clean trace |
| A photo of a sign, a wall or a van | Straighten, cut out, keep as PNG or trace | The surface is a real object the cutout can separate |
| A photo of a logo on a shirt or bag | Flatten, cut out, use as a reference to trace or redraw | Fabric folds and texture end up in any automatic result |
| A logo with a fake checkerboard background | Cut out or trace; see the fake PNG guide | The checkerboard is painted into the pixels |
If your logo “has a transparent background” but shows grey and white squares in every app, it is a fake: the checkerboard is part of the picture. The fake transparent PNG guide explains how to tell and what to do.
Step 1: photograph the logo so it can be cut out
Most bad logo cutouts are bad photos. Five minutes here saves an hour later.
- Straight on. Hold the phone parallel to the surface, directly in front of the centre of the logo. A photo from below or from the side turns rectangles into trapezoids and circles into ovals.
- Fill the frame. Walk closer rather than zooming digitally. The logo should fill most of the photo, with a little margin on each side.
- Even light. Daylight on an overcast day, or a well-lit room. No flash, which leaves a bright spot on glossy paper, signs and vinyl.
- No shadow across it. Your own shadow, the shadow of a window frame, or the shadow of raised letters on a wall. A shadow is part of the background that looks like part of the logo.
- Sharp. Tap to focus on the logo and hold still. Zoom in on the photo afterwards and check the smallest text.
- Flat. Lay paper on a table, press a card under glass, smooth a shirt on an ironing board and pin it flat.
If you are shooting on an iPhone in HEIC, there is no need to convert first: getPNG reads HEIC photos as they are, in the browser, without uploading them.
Step 2: straighten the angle
If you could not stand straight in front of it (a sign above a door, a logo on a moving vehicle, a wall across a road), the photo will be at an angle. Fix that before anything else, because any later trace follows the distorted shape faithfully.
getPNG has no crop or perspective tool, so use an editor:
- Photopea (free, in the browser): use a perspective or distort transform to drag the four corners of the logo’s surface back into a rectangle, then crop close to the logo. Photopea’s privacy policy (checked September 2026) says files you open never leave your device.
- GIMP (free, desktop): the Perspective tool does the same, then Image, Crop to Selection or the Crop tool.
- A scanning app on the phone, for flat paper and cards: document scanners find the edges of a page and flatten it automatically.
A rectangle you know was square in reality (the sign board, the card, the edge of the letterhead) is the best guide for the corners.
Step 3: remove the background
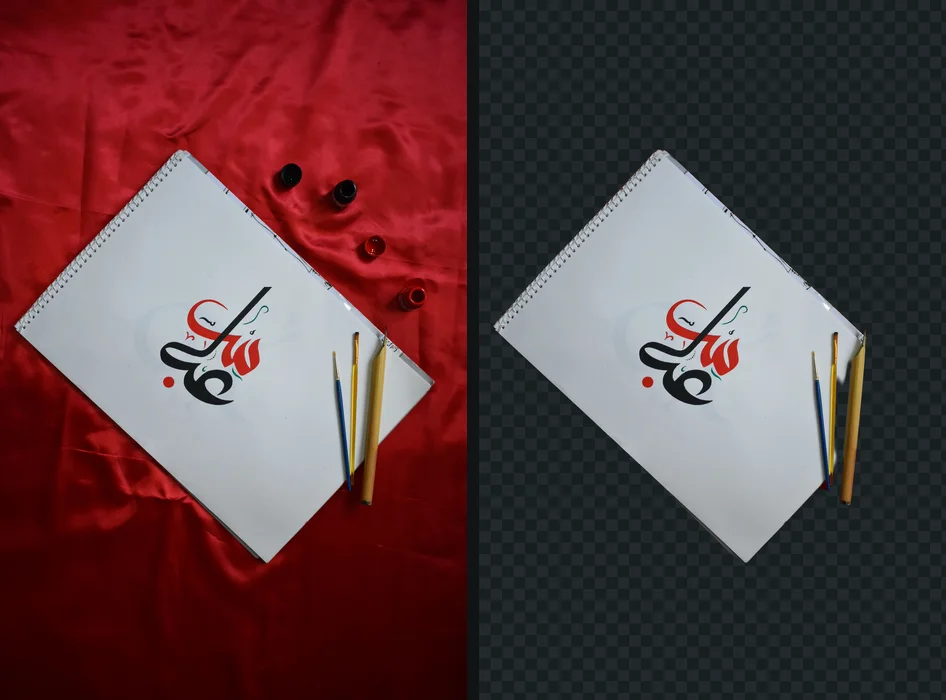
- Open getPNG and drop the straightened photo on the page, choose it, or paste it.
- The model finds the subject, and the edge is refined against the full-size photo, so the cutout keeps the resolution you straightened it at.
- Look at the preview on white and on black, and open the compare view to see the original beside the cutout.
What happens next depends on the surface.
A logo on a sign, wall or vehicle
This is where a background remover does best: the sign or the lettering is a real object in front of a real background. A sign board comes out as a clean shape. Separate letters fixed to a wall are harder, because the wall shows between and inside them. Check the insides of O, A, B, D, P, R, e and g, and the gaps between letters, where patches of wall can remain.
A logo printed on paper or card
Ink on paper is flat, and the paper is not really a “background” in the photographic sense: it is the same surface as the logo. The model may treat the whole card as the subject, or cut out the logo but keep fine grain from the paper around the edges. If the cutout keeps the card, crop tightly to the logo in your editor first and try again. For a simple flat logo, you can also skip the cutout and trace the straightened photo straight into a vector with getSVG, whose tracing separates flat ink from flat paper by colour.
A logo on a shirt, cap or bag
Fabric is the hardest surface. Folds bend the logo, the weave shows through the print, and printed or embroidered logos have soft, textured edges. A cutout gives you the logo on transparency, but the texture comes with it. Treat the result as a good reference, and plan to trace it or redraw it for anything important.
Check the letters, not just the outline
- In getPNG, set the preview background to a strong colour that is not in the logo, such as bright red or black.
- Zoom in on every letter with a closed shape: O, A, B, D, P, R, a, e, g.
- Zoom in on the gaps between letters and between the symbol and the name.
You should see: the preview colour shows through every hole and every gap, and the outline of each letter is clean with no pale rim.
If you do not: if a hole still shows the old surface, that area needs removing by hand in an editor, or the vector trace will fix it; if there is a pale rim, pull the edge in with Edge shift by a pixel or two.
Tidy the edge
Logos have hard, geometric edges, so they show halos more than photos do. If a thin light rim from the paper or wall appears on a dark preview, use Edge shift to pull the outline in by one or two pixels. Keep Feather at zero or very low: a soft edge suits hair, not a logo. The guide to a white halo around a cutout explains the rim.
getPNG has no brush yet to erase a leftover patch by hand. If one letter keeps a piece of wall, erase it in Photopea or GIMP with the transparent PNG open, or let the vector trace in the next step deal with it.
Step 4: download the transparent logo PNG
Download the transparent PNG at full resolution. That file is good for:
- slides in PowerPoint, Keynote and Google Slides,
- documents and email signatures,
- social media posts and profile images,
- websites, where a WebP with transparency is smaller if your site accepts it.
The free way
From logo photo to transparent PNG, on your own device
Drop the straightened photo on getPNG, check the letters on a strong preview colour, pull in any rim with Edge shift and download a transparent PNG at full size. Then open it in getSVG for the vector.
A logo photo is often a client’s or employer’s material, and an unreleased brand, a signed letterhead or a contract in the background of a photo is not something to upload to a website you found a minute ago. getPNG removes the background in the browser and the photo is never sent anywhere. Is it safe to upload photos online covers what other tools do.
Why a PNG is not the end for a logo
A PNG is a grid of pixels. It looks fine at the size it was made, and it goes soft when enlarged for a banner, a vehicle wrap or an embroidery file. Its edges are blended with transparency, so on some backgrounds a faint rim remains however carefully it was cut. And its colours are whatever the camera recorded: slightly off, with gradients across what should be one flat red. getSVG’s guide to raster versus vector explains the difference in more depth.
A logo is flat shapes in a few exact colours, which is exactly what a vector is. A traced SVG:
- stays sharp at any size, from a favicon to a building,
- has one exact colour per shape, which you can set to the brand’s real values,
- has clean edges with no blended pixels, so no halo on any background,
- is what printers, sign makers and embroiderers ask for.
Step 5: trace the transparent PNG into a vector with getSVG
getSVG is getPNG’s sibling tool, from the same people and working the same way, in the browser. A cutout from getPNG is a good input to it: the background is already gone, so the trace only has to deal with the logo itself.
- Open getSVG’s logo to vector tool, or the general PNG to SVG converter.
- Drop the transparent PNG you downloaded from getPNG.
- Check the traced shapes: straight lines straight, circles round, holes in letters open.
- Set the colours to the brand’s exact values if you know them.
- Download the SVG, and a PNG from it at whatever size you need.
If the trace shows a thin light outline, getSVG’s guide to a white halo around a traced logo has the fix. If the photo was too poor for any trace (a tiny logo on a faded shirt, a sign photographed from far away), the honest answer is to redraw it using the trace as a guide, which getSVG’s guide to rebuilding a lost logo walks through.
When this route does not work
- The logo is tiny in the photo. A logo 150 pixels wide on a business card photographed from across a desk has no detail to recover. Photograph it again, closer.
- Heavy perspective. A logo photographed at a steep angle loses detail on its far side that straightening cannot bring back. Get closer to straight on.
- Reflective surfaces. Brushed metal, glossy vinyl and glass signs reflect the scene, and the reflection becomes part of the logo. Shoot on an overcast day, at a slight angle that avoids the reflection, and straighten afterwards.
- Gradients and photos inside the logo. A logo with a photographic element or a soft gradient traces into many shapes. Keep that one as a high-resolution PNG, or redraw the gradient in a vector editor.
- Thin text and fine lines. Small print under a logo, a thin tagline or a registered mark may partly disappear. Check it at full size, and retype small text in the right font rather than tracing it.
For other ways to make a transparent PNG, including from a logo file that is already flat on white, see how to make a transparent PNG. If you work in Illustrator, removing a background in Illustrator compares Image Trace with masking.
The steps, in short
- Photograph the logo straight on. Phone parallel to the surface, logo centred and filling most of the frame, even daylight, no flash, no shadow across it.
- Straighten the angle. If the photo was taken at an angle, correct it with a perspective transform in an editor such as Photopea or GIMP, and crop close to the logo.
- Remove the background. Drop the photo on getPNG. The cutout is refined against the full-size photo and keeps its resolution.
- Check holes and edges. Use the compare view to check the insides of letters like O, A and e, and pull in any halo with Edge shift.
- Download the transparent PNG. Use it on slides, documents and social posts, where a raster file is fine.
- Trace it to a vector for print. Open the PNG in getSVG to get an SVG you can scale to any size, recolour and send to a printer or sign maker.
Questions
How do I make a logo background transparent?
If the logo is a file on a plain white background, trace it or remove the white so only the logo remains, and save a PNG. If it is a photo of a logo on a wall, paper or fabric, straighten the photo, cut the logo out with a background remover, and save a transparent PNG. For print, trace that PNG into a vector.
Can I get a transparent logo from a photo of a sign?
Yes, if the photo is sharp and taken reasonably straight on. Correct the perspective first, then remove the background. Signs made of separate letters with wall showing between them are the hard case: check the gaps between and inside letters, where background can remain.
Why does my transparent logo have a white edge?
The edge pixels still hold some of the old white or light background, blended with the logo colour. On a dark background they show as a pale outline. Shrink the cutout by a pixel or two, or trace it to a vector, which has no blended edge pixels at all.
Is a PNG or an SVG better for a logo?
An SVG, whenever the place you use it accepts one. A vector stays sharp at any size and its colours can be changed exactly. Keep a transparent PNG as well for tools that do not take SVG, such as many email signatures, some document editors and social profile uploads.
Can I remove the background from a logo on a T-shirt?
You can get a usable cutout if the shirt is laid flat, smooth and photographed straight on. Folds, fabric texture and printing that has cracked all end up in the result, so it is best treated as a reference to trace or redraw rather than a finished logo.
Can I use someone else's logo?
Removing a background does not change who owns a logo. Use your own logo, your organisation's with permission, or a logo in a way trademark rules allow, such as referring to that company. This guide assumes the logo is yours to use.